
I’ve been meaning to write a blog about the PSHTML module for a long time as I’ve used it many times to make great-looking HTML email reports. This is a great little PowerShell module that creates a domain specific language (DSL) within PowerShell that allows you to easily craft HTML directly from your PowerShell scripts.
You can use this PowerShell module to create full web pages, but I’ve used it more often to format the body of HTML emails to create beautiful reports. Pairing this module up with dbatools you can retrieve data from a SQL Server database and then depending on the results; since we’re in PowerShell we can use all the conditional statements needed to determine how to handle the results, we can send out concise useful email reports.
If you just want the script and to skip the explanation, head to the ‘Full Script’ section of this post where I’ve linked to the full gist.
Step 1 - Set up the variables
I like to set my PowerShell scripts in a way that makes them easy to reuse. This is the key to being an efficient script writer - the more I parameterise my scripts the easier they are to reuse.
In this case, it’s useful to pull out all the variables needed to send the email using Send-MailMessage - you can see below I’ve got the email addresses we want to send the email to, the address showing where the email came from, a subject - which includes today’s date, and the SMTP server we’ll use to send the mail.
| |
Step 2 - Get some data
The beauty of this script is that the data can come from anywhere, you could use the Active Directory PowerShell module to get information on groups or users, or perhaps find all accounts with expired passwords or that are currently locked out. You could use CIM or WMI to collect information from your servers, like patch levels or last boot times. In my case I’m going to use dbatools to query a SQL Server database to retrieve some data.
In this example, we’ll query a table within the pubs database to get a list of author information. This is nice and simple, but with the Invoke-DbaQuery command you can also run a stored procedure, so your reports can pull complex datasets as well.
Again I’ve got a few variables, since I’m using SQL Authentication to connect to my database I also need to pass in a credential to use with the -SqlCredential parameter. In this case I’m importing a CliXml file, but you could also use Get-Credential to create the PSCredential object.
| |
Once we’ve got the data it’s time to format our report.
Step 3 - Build the report
This is where the magic of using the PSHTML PowerShell Module comes in, as I mentioned, once we import this module we have a DSL to allow us to format HTML attributes with a PowerShell like feel.
Let’s start with a simple example, with HTML we can define multiple levels of headings, these are defined as H1 for the highest level, H2 for the next level, and so on. So with the PSHTML module if we want to add a heading to our output we can run the following:
| |
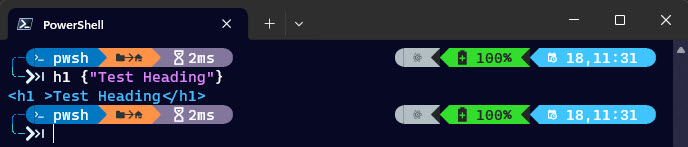
If we then wanted to add a paragraph underneath the heading we could make use of the p function. Both h1 and p are considered functions within the PSHTML module, even though it feels wrong that they aren’t named in the typical verb-noun format. But, that’s because it’s part of a DSL (same as Pester - Describe is a function that doesn’t match the usual PowerShell naming convention).
| |
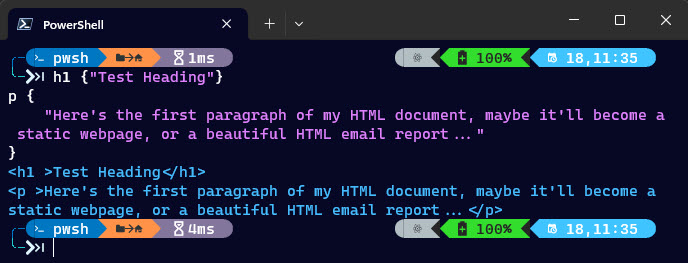
Easy enough right! You can see all the available html tags you can use by running Get-Command -Module PSHTML.
For our report we’ve got some data, so I want to format it as a nice looking table. For that we’ll use a function, ConvertTo-PSHTMLTable, that is actually named like a PowerShell function to convert a PowerShell object into a HTML table. I’ll pass in the $results object, which is the data we got from the database using dbatools, and then specify the properties that should make up the table.
You’ll notice that I’ve actually wrapped the $results variable in parenthesis so I could specify the sort order of data in my table.
| |
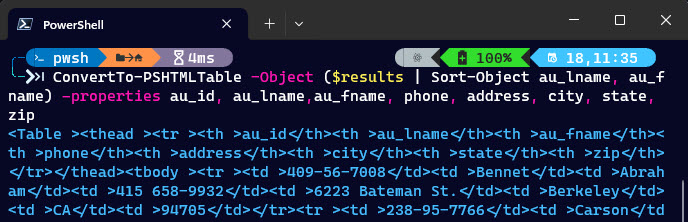
Now this looks like a lot, and I’ve cut most of the output off, you’re welcome! What you can see is how you create a table in HTML, first you have a <table> tag, then you define the header row of the table with <thead> and <tr> tags, before moving on to every other row. It’s very repetitive, especially if you have a lot of data. However, the ConvertTo-PSHTMLTable just takes care of it for you.
One other thing to mention, HTML is often styled by using CSS (Cascading Style Sheets), PSHTML lets you use this same format to style your HTML output. There are a lot of great CSS websites out there to help you find the code you need for your output - and you can always just steal borrow mine from the full script below.
A short example shows just two steps, first define a variable to hold the CSS code, in my example $reportCss and then as you build the HTML you’ll add that into the head of the HTML.
| |
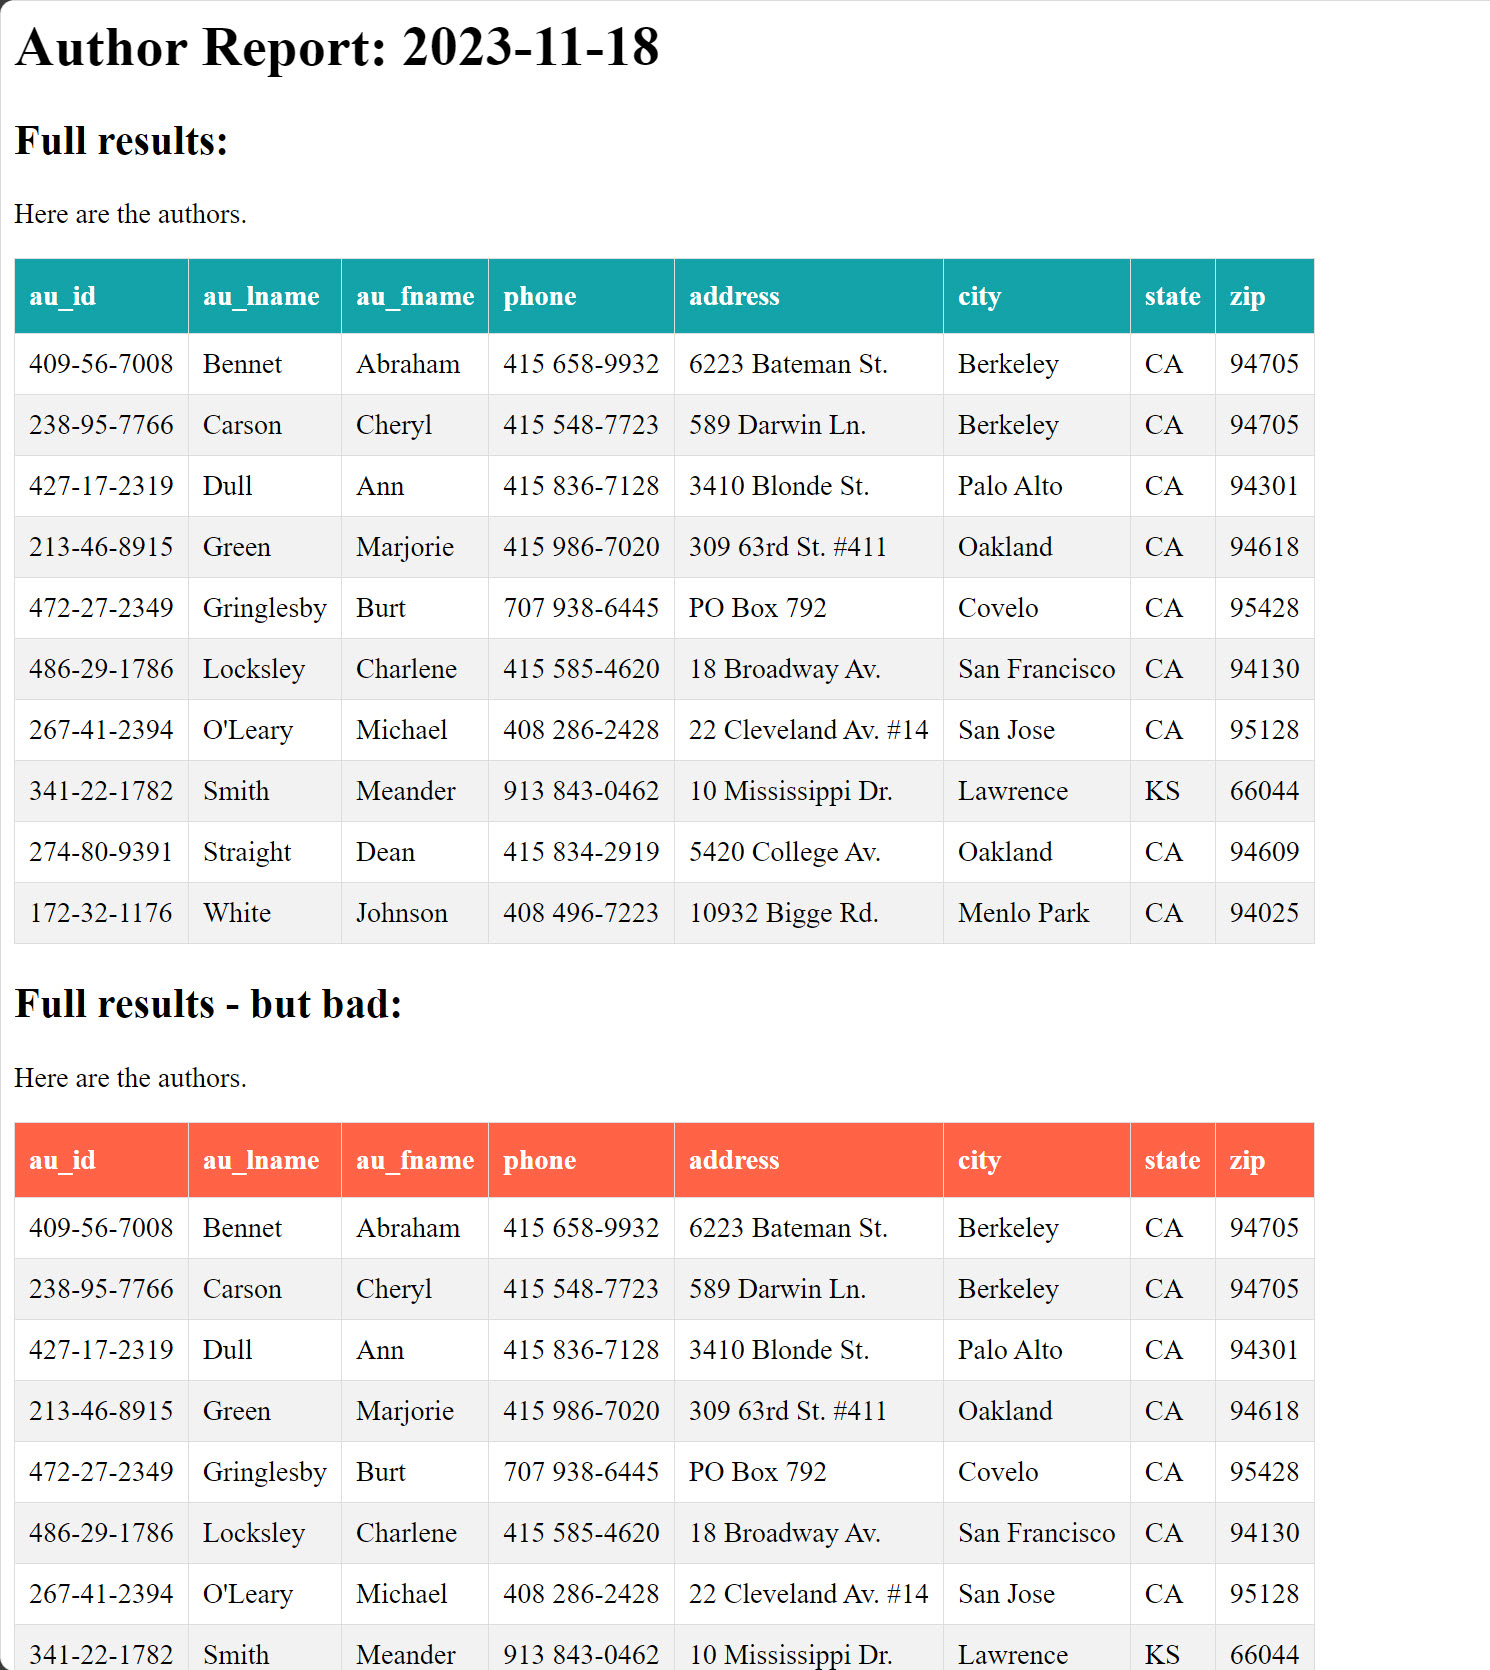
We can also use CSS to style certain elements differently based on assigning a class to them, for example we could have two tables that are styled differently within the same document. If I change the ConvertTo-PSHTMLTable command to add the -TableClass parameter I can specify the class that the table will receive, which then we can target with our CSS. Below you can see I’m adding the class fail to this second table.
| |
We’ll see how this looks in the final output below.
Step 4 - Test the HTML output
Once we have all the HTML elements we need in our script, the next step is to test it out. I usually do this locally before I start sending emails, since the body of the email is just HTML we can save it as a file and then open it in a web browser to make sure it looks as expected.
In my full script you can see I have the following code commented out, but if I uncomment that and run everything up to that point we’ll end up with a file called test.html.
| |
Opening that test.html file I can see what the body of my email would look like if I sent it now. You’ll notice the first table is styled with nice teal headings, whereas I added the fail class to the second one, so it’s got a red heading. It’s looking good - I’m ready to send it as an email.
Step 5 - Send the email
To send an email from a PowerShell script we can use the following snippet, since we added all the parameters we needed earlier on, we’ll create a simple hashtable so we can make use of splatting - and then pass that into the Send-MailMessage function.
| |
Conclusion
Well that pretty much covers everything you need to know so you can create beautiful HTML emails, I use this often for all kinds of reports including a daily checks email and a report to show how restore testing went. There are loads of great reasons you should stash this script away in your toolbox.
Full Script
The full script is available as a gist below, enjoy and thanks for reading!