
I’ve been hearing about the Data API Builder (dab) for a while now, but I hadn’t found a reason to play with it myself.
Well I recently found I had a SQL Server database that could use an API so I could interact with it from an Azure Function. I immediately thought about DAB and was excited to have a reason to test it out.
Let me tell you - this thing is pretty neat! This is the first post in a series, and today we’re going to get it set up to run locally against a SQL Server database running in a docker container. However, if you don’t have a container handy you can either, follow my handy blog post to get one setup, or connect to any instance - you just need a connection string.
Install DAB
Installing DAB couldn’t be easier - this one line will get you the latest version installed locally thanks to the dotnet cli, if you don’t have that available check out this doc for installing the .NET SDK.
| |
You’ll see some output and then hopefully a successful message, as shown below.
You can invoke the tool using the following command: dab Tool ‘microsoft.dataapibuilder’ (version ‘1.5.56’) was successfully installed.
Spin up a SQL Server Instances
I’m a big fan of containers, and dbatools conveniently have a nice pre-built image that we can spin up like so.
| |
The important parts here, first the port mapping is 2500:1433 so I will be able to connect to it with localhost,2500 and the image dbatools/sqlinstance means we’re using the dbatools instance which has some databases preloaded.
Create DAB configuration
In your console navigate to the folder you want to use for this project as the next command will create the dab-config.json file in the current folder. Most of this config file is just the defaults, and we’ll keep those for our local testing. Run the following, updating your connection string if it’s different.
NOTE: The plain text password here is fine for a local container, in the next blog post we’ll push this to Azure and use managed identities to remove the need for hardcoded passwords.
| |
This command creates our config file in the current folder, and the command output below shows that it was successful.

Once we have the base config file we’ll add entities - these are tables, views or stored procedures that we want to create endpoints for. Let’s add the authors table by running the dab add command below.
| |
This adds the following to the config file, you can see there is a permissions section, this currently is set to anonymous which means no authentication is needed to use the endpoint. This is fine for our local testing, and could be fine if you’re exposing public data, but in a later post we’ll change this to add authentication.
| |
Start DAB
Once you’ve added all your endpoints you can start DAB with the following command.
| |
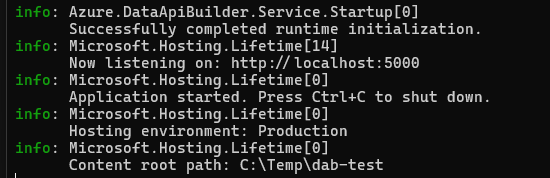
This will use the config file we created in the current folder, and start the tool. Below you can see the end of the output, where it states that it is listening on http://localhost:5000.
Successfully completed runtime initialization.info: Microsoft.Hosting.Lifetime[14] Now listening on: http://localhost:5000 info: Microsoft.Hosting.Lifetime[0]
Use the API Endpoints
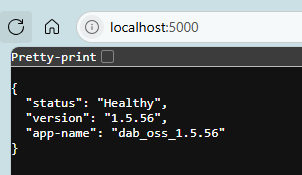
If you click on the link provided in the output you’ll get to an app status page that doesn’t show much, but you know it’s running - this is more useful once you try and host this tool somewhere. Hitting this page is a good check that things are setup, the config is valid and everything is running ok.
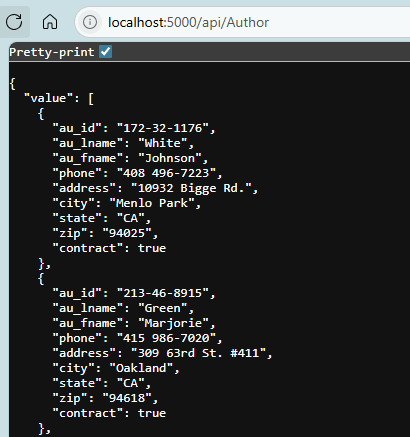
Remember the entity we added earlier, for the authors table in the pubs databases. Let’s check that endpoint out by navigating to http://localhost:5000/api/Author in the browser and you can see the data exposed from that SQL Server database table. Just like that!
We’ve written zero code at this point. Just configured a json config file and now we can get, and insert, if we make a POST request, data from the SQL Server table. We can also use these API endpoints in PowerShell code, the following will get the data from the Authors table with a Invoke-WebRequest call.
| |
Here you can see the raw result if you just call the endpoint.

But with PowerShell you can easily access the data and now it’s a PowerShell object. Think of all the places you could use this to integrate data into your PowerShell scripts - pretty neat.

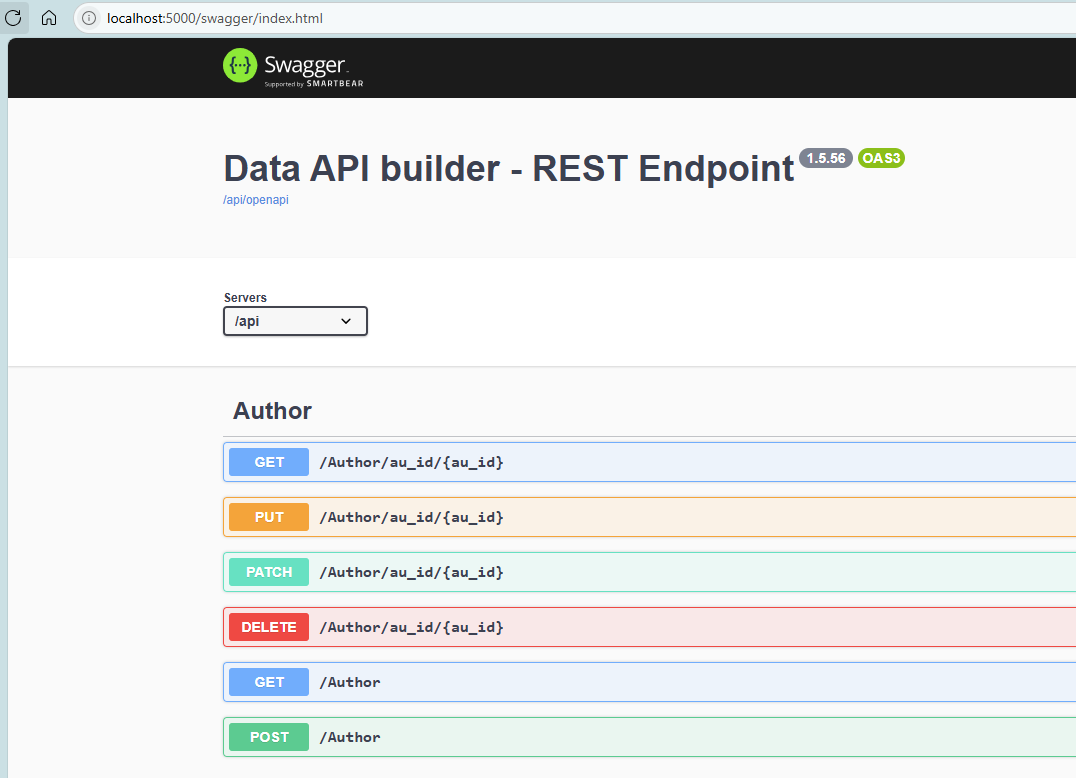
The other thing you get for free is swagger documentation. Swagger (OpenAPI) is an industry-standard framework for describing REST APIs that provides interactive documentation, allowing developers to explore and test endpoints directly from the browser. This is great because the APIs that we didn’t even write, are also fully documented. Head to http://localhost:5000/swagger and you can see any entities that we’ve exposed, and the methods available to interact with them.
It’s also worth mentioning you can create GraphQL API endpoints also with this tool, you can navigate to http://localhost:5000/graphql/ to check those out.
Next Steps
Now this is a super cool test for DAB, but I need to productionise this. So in the rest of this series we’ll look at hosting this tool in an Azure Container Instance. Then we’ll talk about authentication, and how we can call these API endpoints securely from an Azure Function.
dab Blog Series
Here are all the links to the dab blog series:
- Data API Builder
- Running dab in an Azure Container Instance
- More coming soon…
Or you can view all posts about dab using the dab category.